Headband Freak!
*
I've been showered by the headband fashion these days. some beautiful pictures for you =)
inspirations. and they're not hard to do at all!

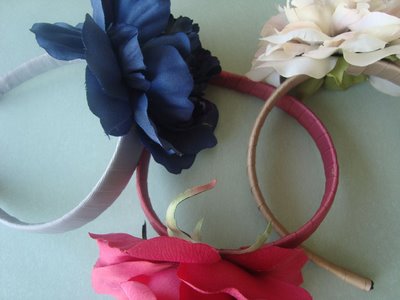


I've been showered by the headband fashion these days. some beautiful pictures for you =)
inspirations. and they're not hard to do at all!
1. Here's a simple tutorial from the original website : designmom
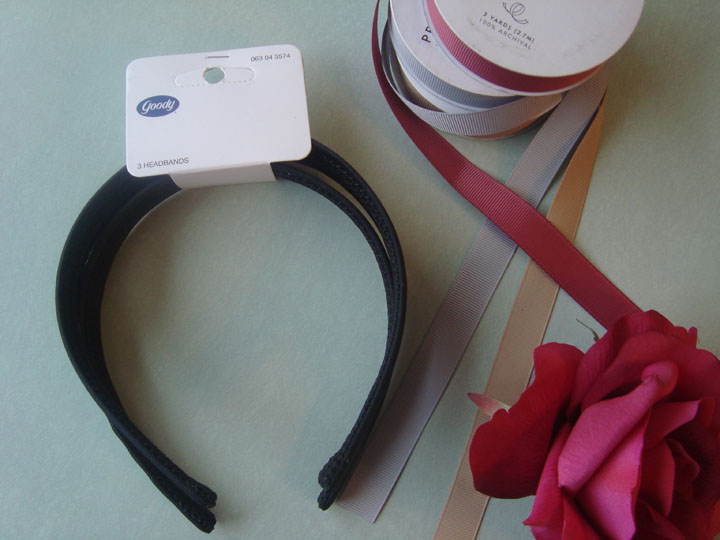
Materials:
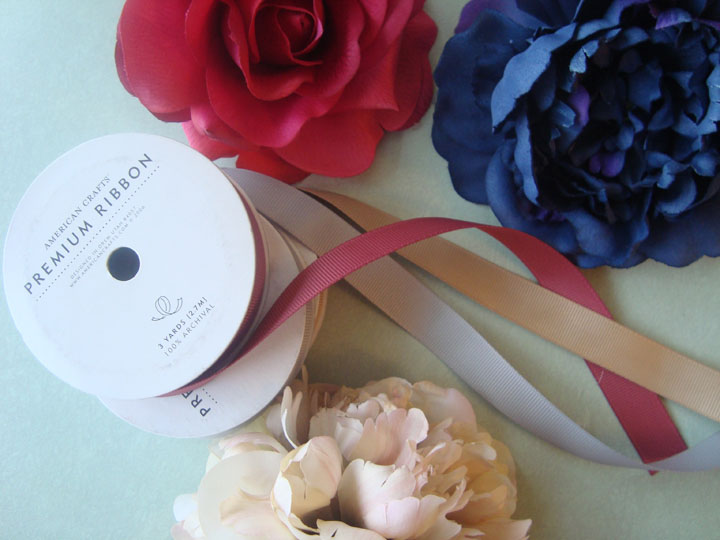
- 3-pack of black headbands
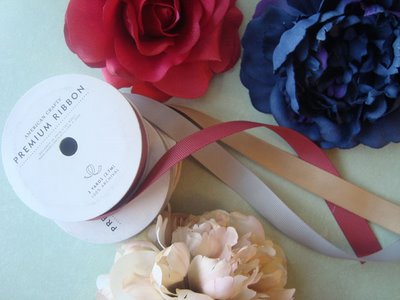
- fake flowers, for $3 to $4 per stem
- coordinating ribbon for $1 per roll
note: Each headband will use between 1 and 2 yards of ribbon.
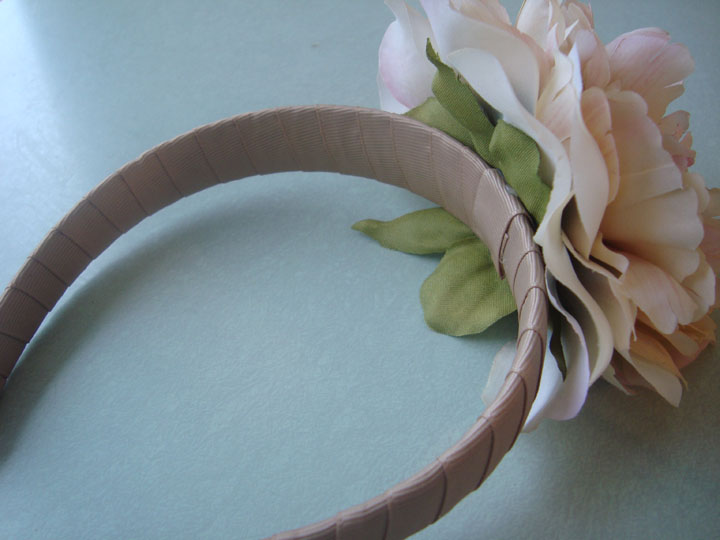
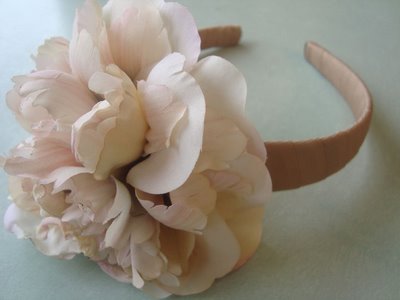
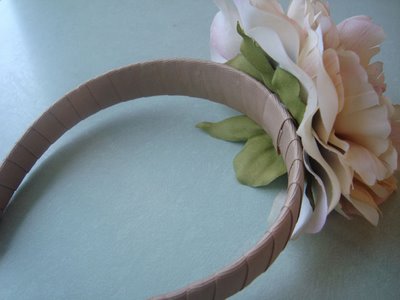
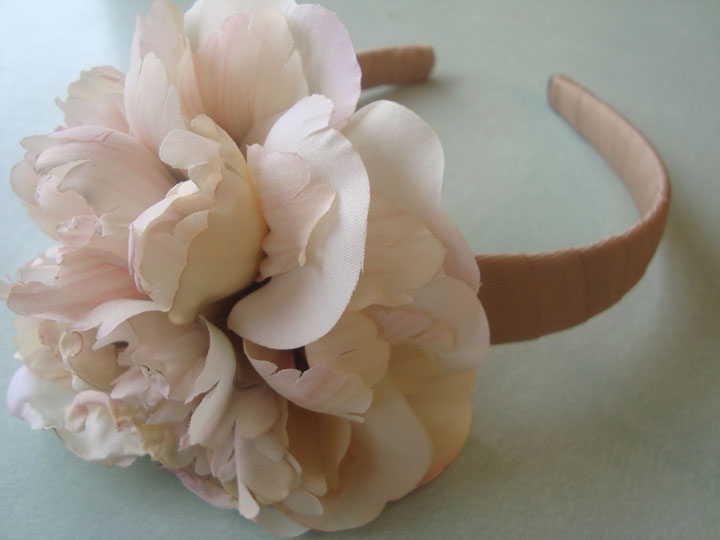
To make: wrap the head band in ribbon using a hot glue gun to attach. We had the best luck keeping the ribbon smooth by starting it at each end of the headband and meeting where the flower would be placed. Once the headband is completely covered in ribbon, it’s time to add the flower.
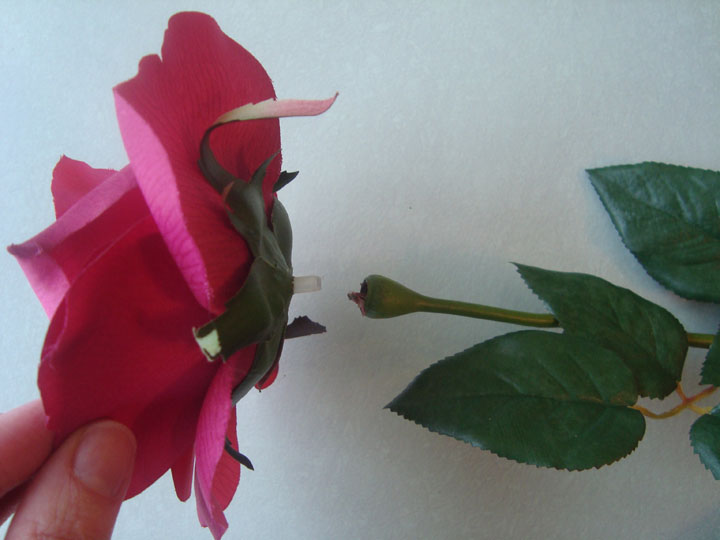
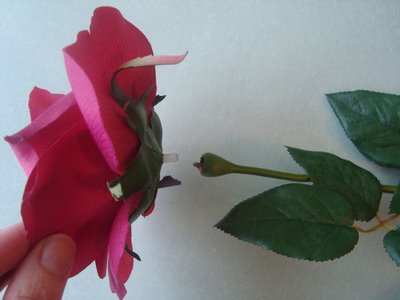
Pull the flower off of it’s stem, and trim the remaining plastic so that the bottom of the flower is flat. In front of a mirror, put on the headband and move the flower around until you’re happy with placement. Mark where your want to place the flower with a pencil (the pencil mark will be covered by the flower). Attach the flower with hot glue. Done.
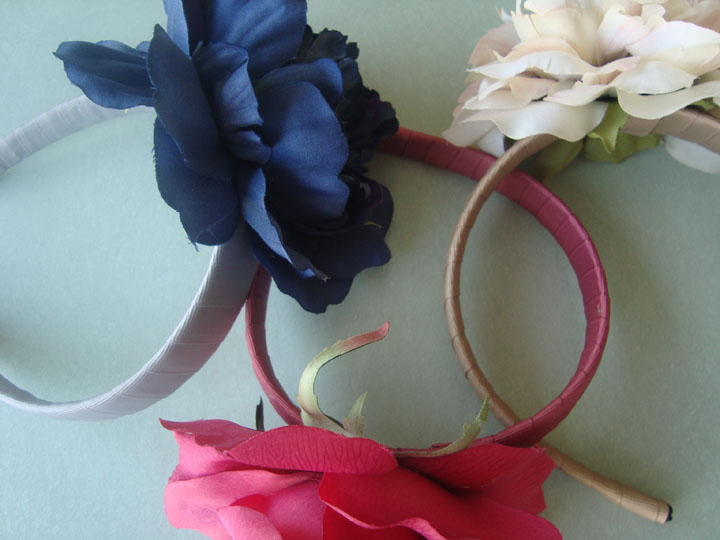
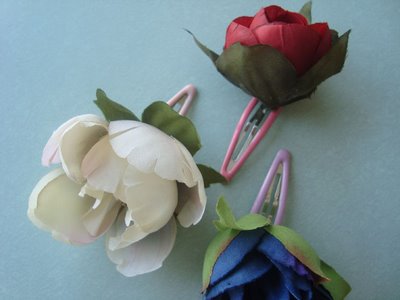
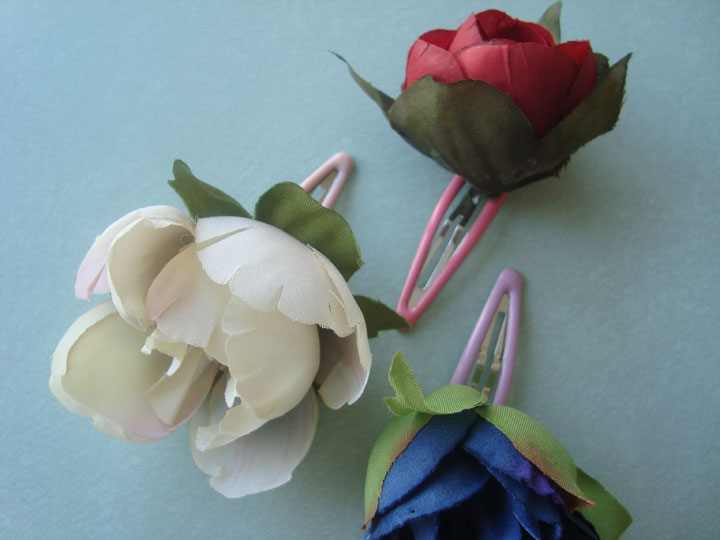
This is an incredibly fast project. And the headbands turned out beautifully. The fake flowers we bought each came with a large bloom and a small bloom. We didn’t want the small blooms to go to waste, so as an afterthought, we glued them to small barrettes. Cute.
2. Here's another simple tutorial from the original website : ashleykaitlin

- 1/2 yard black tulle (you'll have lots left)
- black feathers
- black wire-wrapped bead components
- crystal buttons
- felt
- plain headband
- scissors
- glue gun
- wooden skewer or stick

- black feathers
- black wire-wrapped bead components
- crystal buttons
- felt
- plain headband
- scissors
- glue gun
- wooden skewer or stick

To start, cut two ovals of the same size out of the black felt in the size that you want your focal piece to be (picture 2). Cut a few of the feathers off and glue them to the felt, using the skewer to press it down (picture 3). Trust me, you'll be happy you used the skewer and not your fingers - ouch! Cut a bunch of tulle circles, about 1 1/2" in size. You'll be taking about 3 circles, folding them in half twice making the shape in picture 4.

Glue those tulle pieces on in a random fashion, being sure to press well with the skewer so that the hot glue goes through all of the layers (pictures 5/6). Add a beaded component, cutting off the extra wire at the bottom (picture 7). Keep adding tulle to a little farther than the top half, making sure that you do some sideways on the edges (picture 8).

Add a few extra feathers and another beaded component to lay the feathers down a little (picture 9). Keep adding tulle until you get to the bottom, then add some tulle upside down (picture 10). You'll have a funky spot of glue where all of the tulle comes together, but that's okay (picture 11). Glue on a few crystal buttons and we're almost done (picture 12)!

Here is where you learn from my mistakes. I just guesstimated on where the piece should go on the headband and glued it on. Don't do that! I also had the feathers going up and I looked like a bird. So I took it apart (cutting and pulling with all of my might since the hot glue had already set) and started over. I decided to put it farther down the side and the feathers going down so it's much better. Lesson learned: place it on your head as a test BEFORE you glue it down! Add a dollop or line of glue on the back of the felt and attach the headband (picture 13). Then add a ton of glue to the felt and attach the second oval to the top of it (pictures 14/15). ALL DONE!
Comments